Globus
Globus is a file transfer service based on GridFTP. When using Globus, you hand-off the data transfer task to a hosted service that will take care of the entire operation, monitoring the transfer and automatically retrying in case of errors. It will even notify you by email when the transfer is ready.
Globus is composed of three parts:
- Globus Connect Server: already installed in the CESGA’s DTN server
- Globus Connect Personal: needed on your local PC to transfer files from or to your local HDD
- Globus Web App: a web applications where you launch the transfers
Installation
To use Globus between CESGA’s DTN and other existing endpoints you do not have to install any additional software.
In case you want to transfer files from or to your local PC then you need to install the Globus Connect Personal software to enable your PC as a private Globus endpoint.
Globus Connect Personal
To transfer files to or from your local HDD you need to install Globus Connect Personal in your computer.
This software will enable your PC as an endpoint that can be seen just from your account.
It supports Linux, Windows and Mac, to install it you can follow the next instructions:
Usage
Go to https://globus.org and press the Log In button.
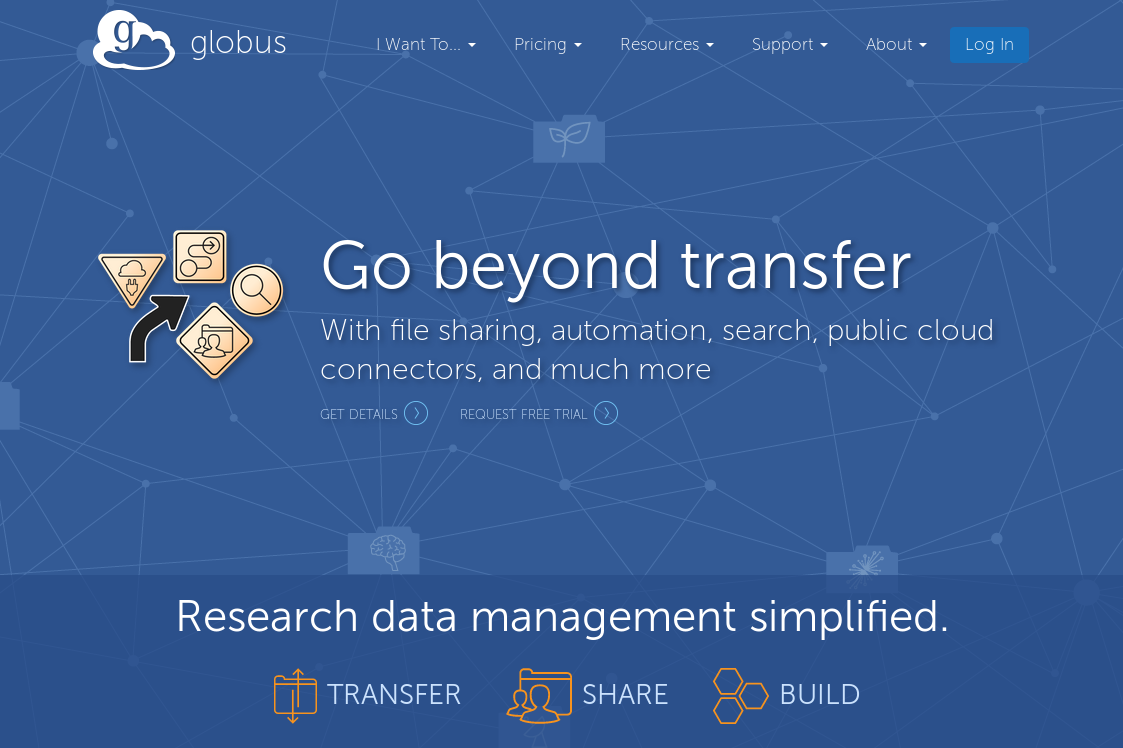
Main Globus page.
You can look for your institution (“Universidade de Santiago de Compostela”, “Universidade da Coruña”, “Universidade de Vigo” and “CSIC” are all registered) under “Use your existing organizational login” or alternatively you can select “Sign in with Google” and use your Google credentials:

Log in page.
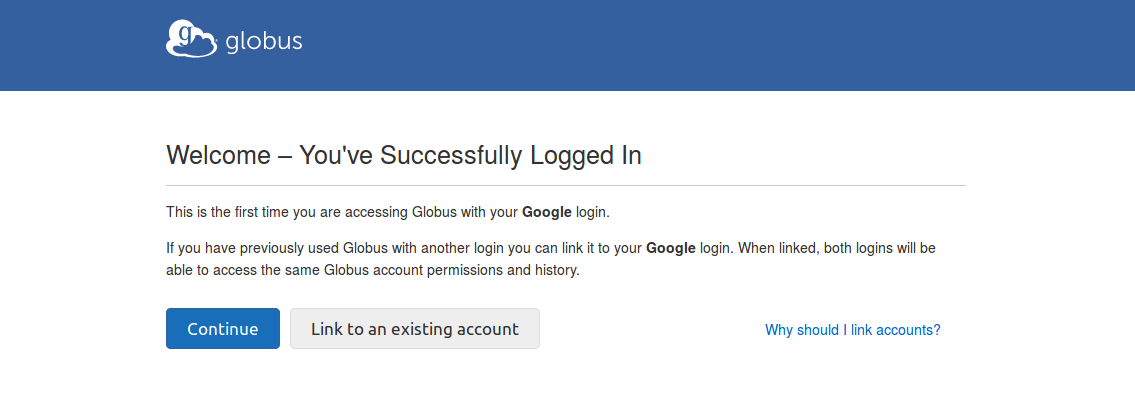
The first time you log in with a new account your are given the option to associate it with an existing account. In our case we do not want to link it to any existing account so we just press “Continue”:
First time login page.
The first time you log in with a new account your are given the option to associate it with an existing account. In our case we do not want to link it to any existing account so we just press “Continue”:
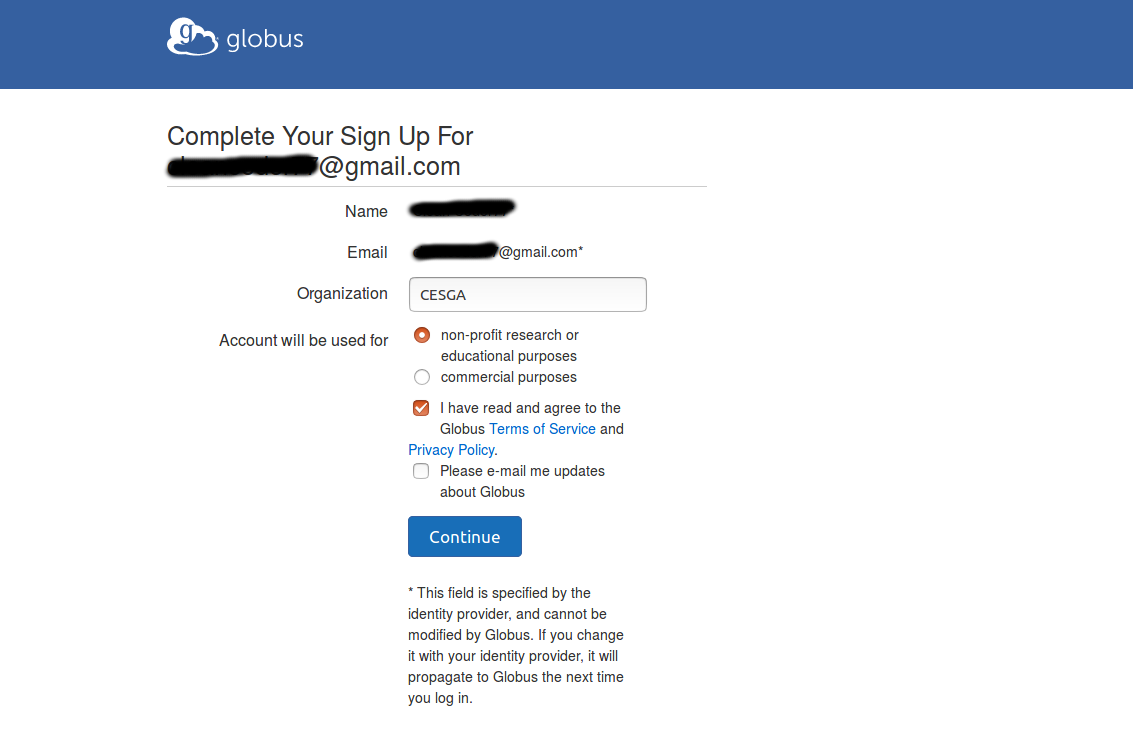
Additional information requested to complete sign up.
You will now be directed to the “File Manager” page.
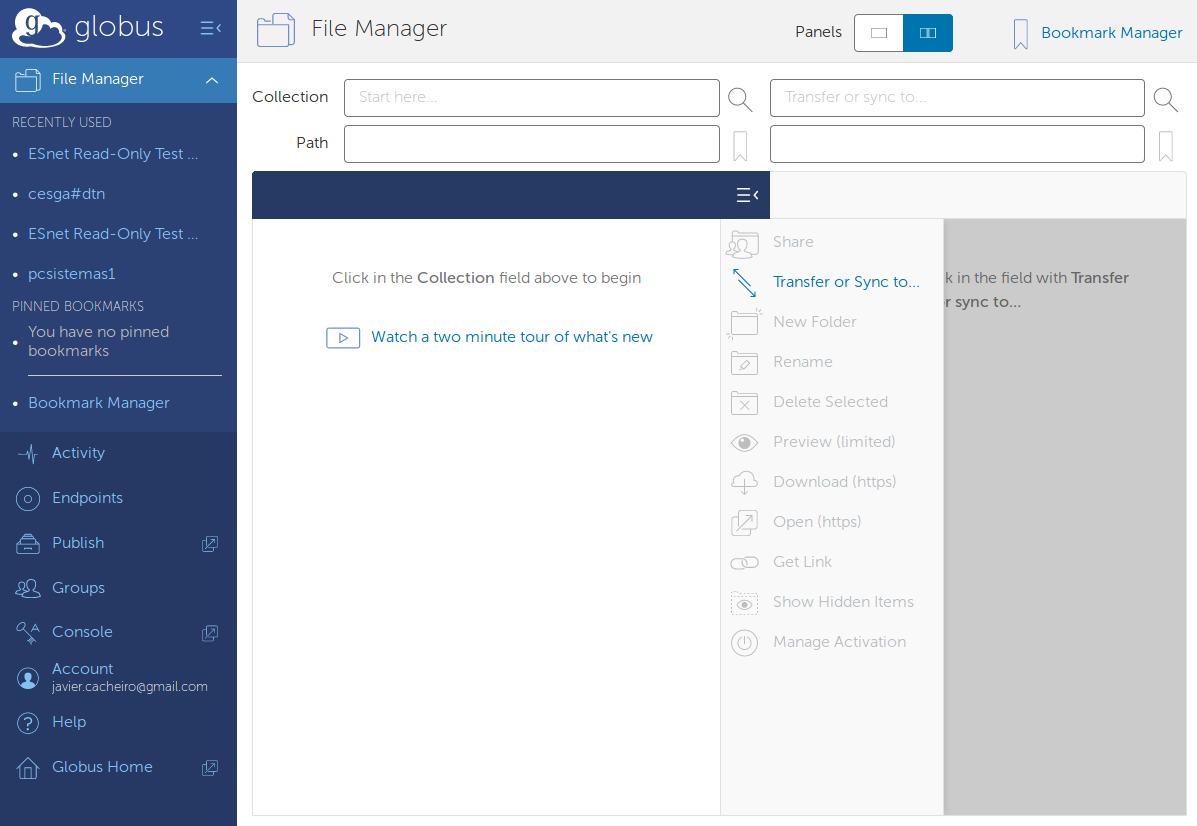
The File Manager wep application.
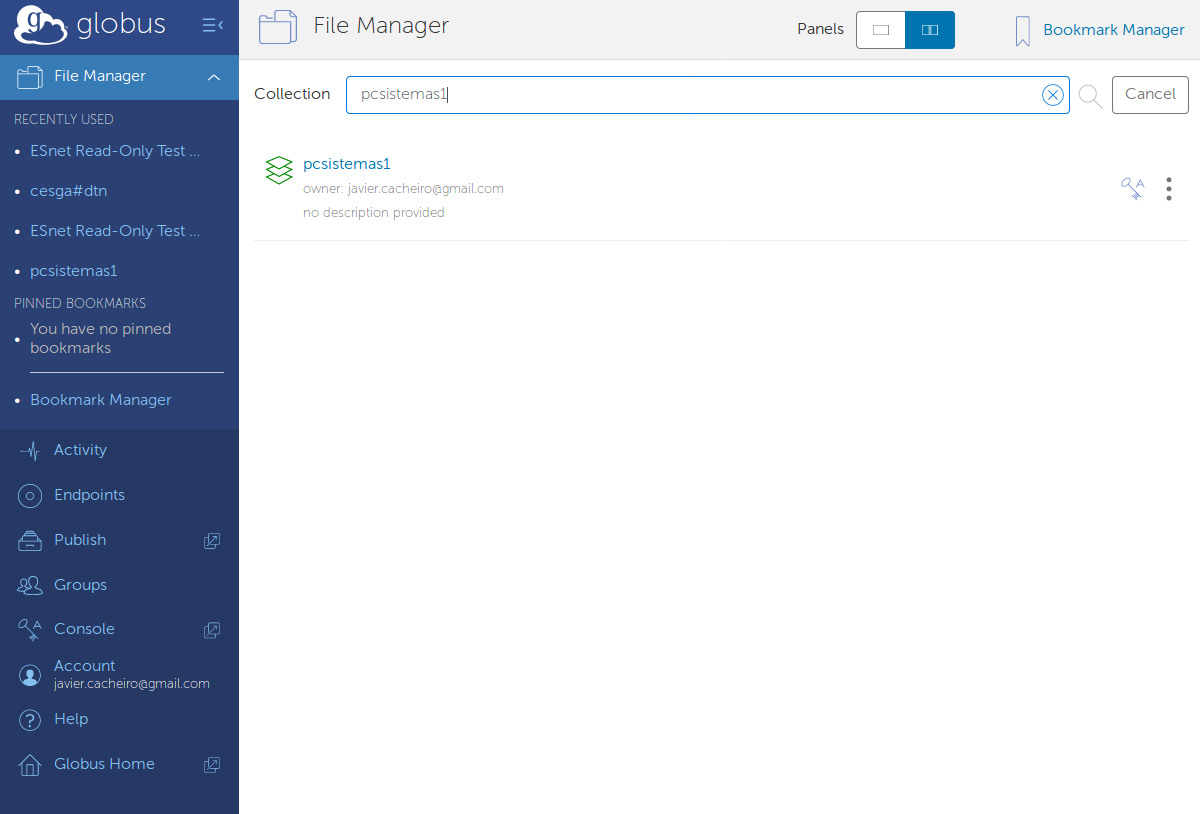
In the File Manager page you can select the CESGA DTN typing its name in the Collection field: cesga#dtn
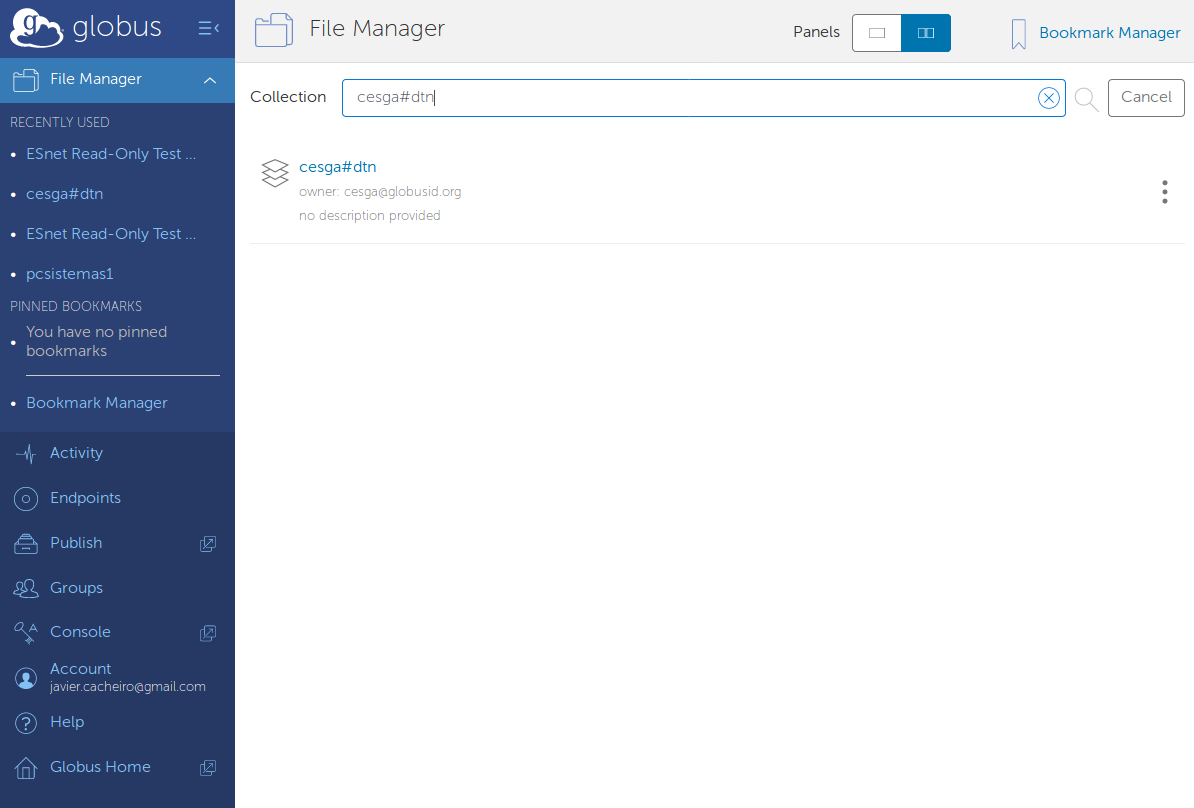
Select cesga#dtn in the File Manager.
Once selected the cesga#dtn endpoint you will have to authenticate using your credentials at CESGA, the same ones you use for the HPC and Big Data systems:
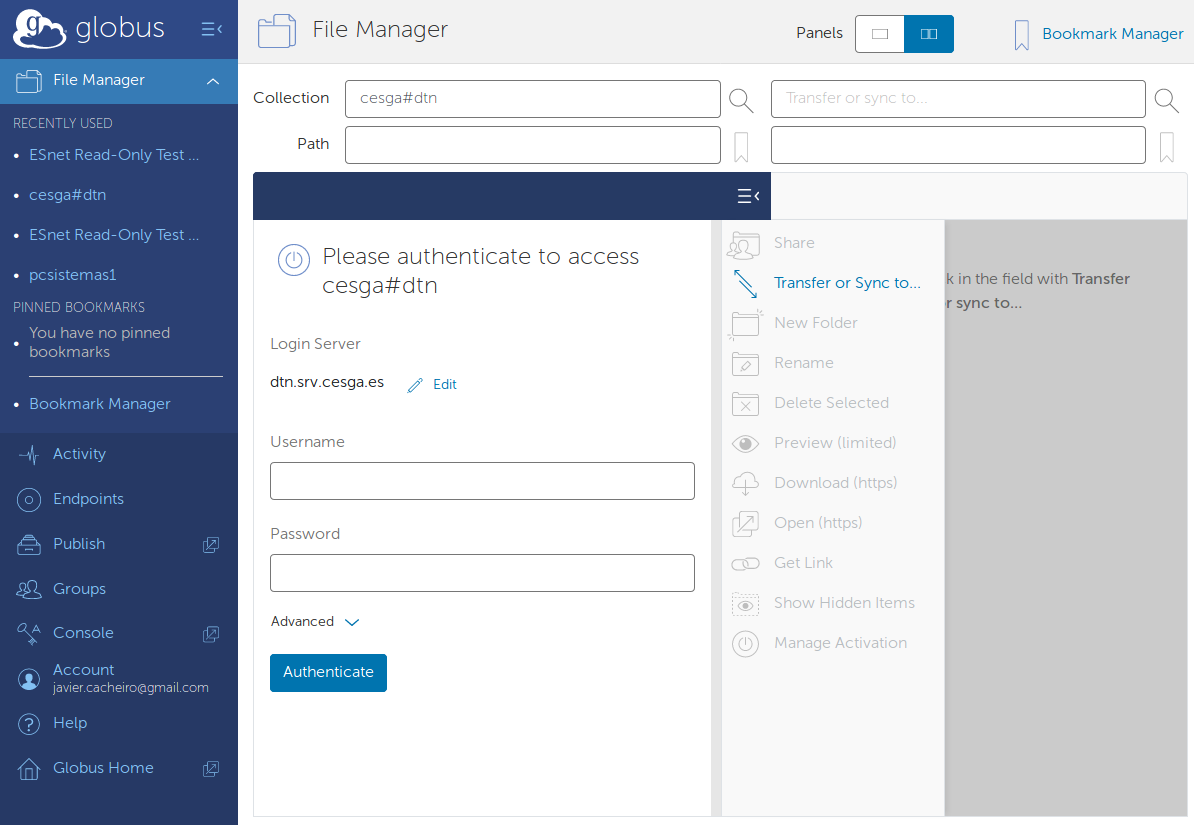
After selecting the cesga#dtn you will have to authenticate using your CESGA credentials.
Once you log in the cesga#dtn endpoint you will see the list of your files. You can create symbolic links to the most common directories to simplify the usage.
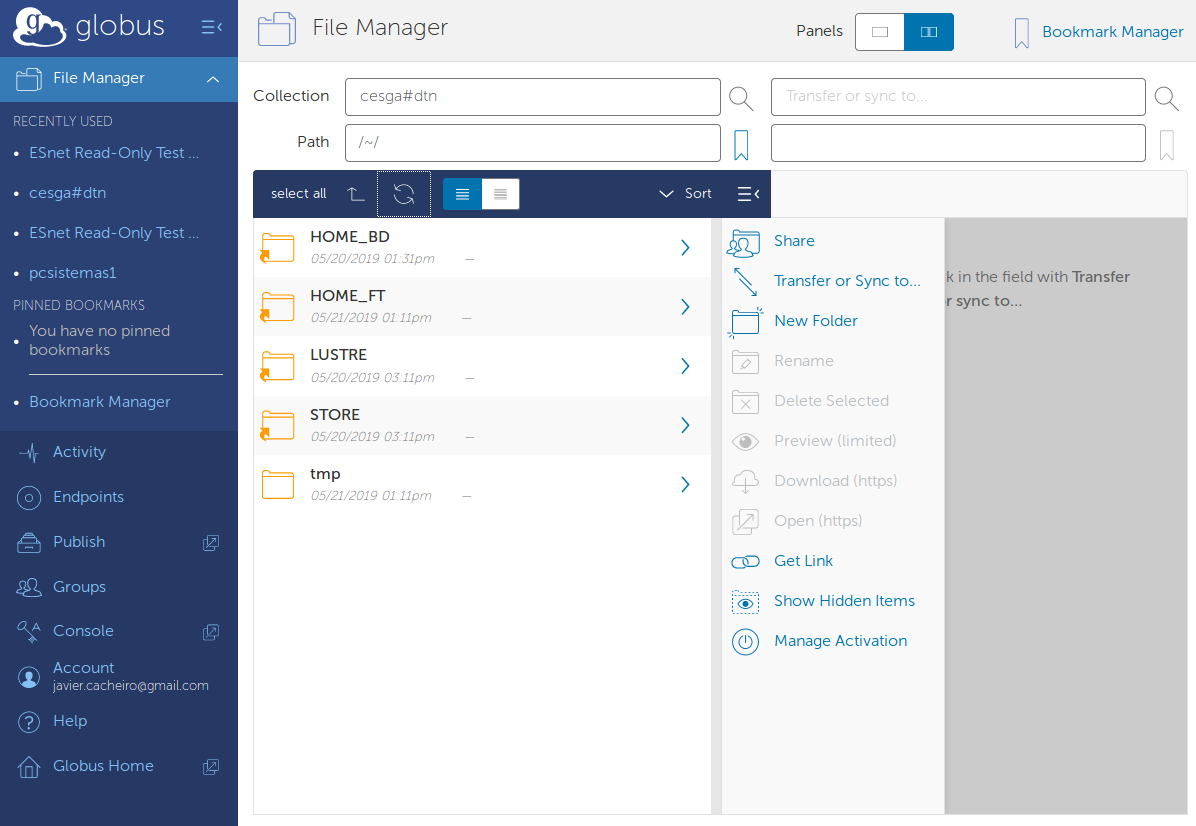
In the cesga#dtn tab you will see the list of your files.
Note
You can create symbolic links to the most common directories to simplify the usage.
For example:
ssh dtn.srv.cesga.es
ln -s $HOME HOME_FT
ln -s $HOME_BD HOME_BD
ln -s $STORE STORE
ln -s $LUSTRE LUSTRE
Note
If you do not create the symbolic links you can still use the full paths to access the different filesystems, typing them under the Path field.
Finally if you start Globus Connect Personal in your PC you will be able to use also your local endpoint in a similar way.
First start the Globus Connect Personal application on your PC:
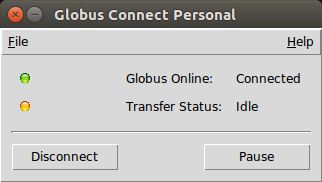
Globus Connect Personal running.
And once started, just type the name you gave to your local PC when you configured Globus Connect Personal in the “Collection” field on the right tab:
Selecting the local computer.
To start a transfer, first select the files you want to transfer in the appropriate endpoint and then press the “Transfer or Sync to…” option:
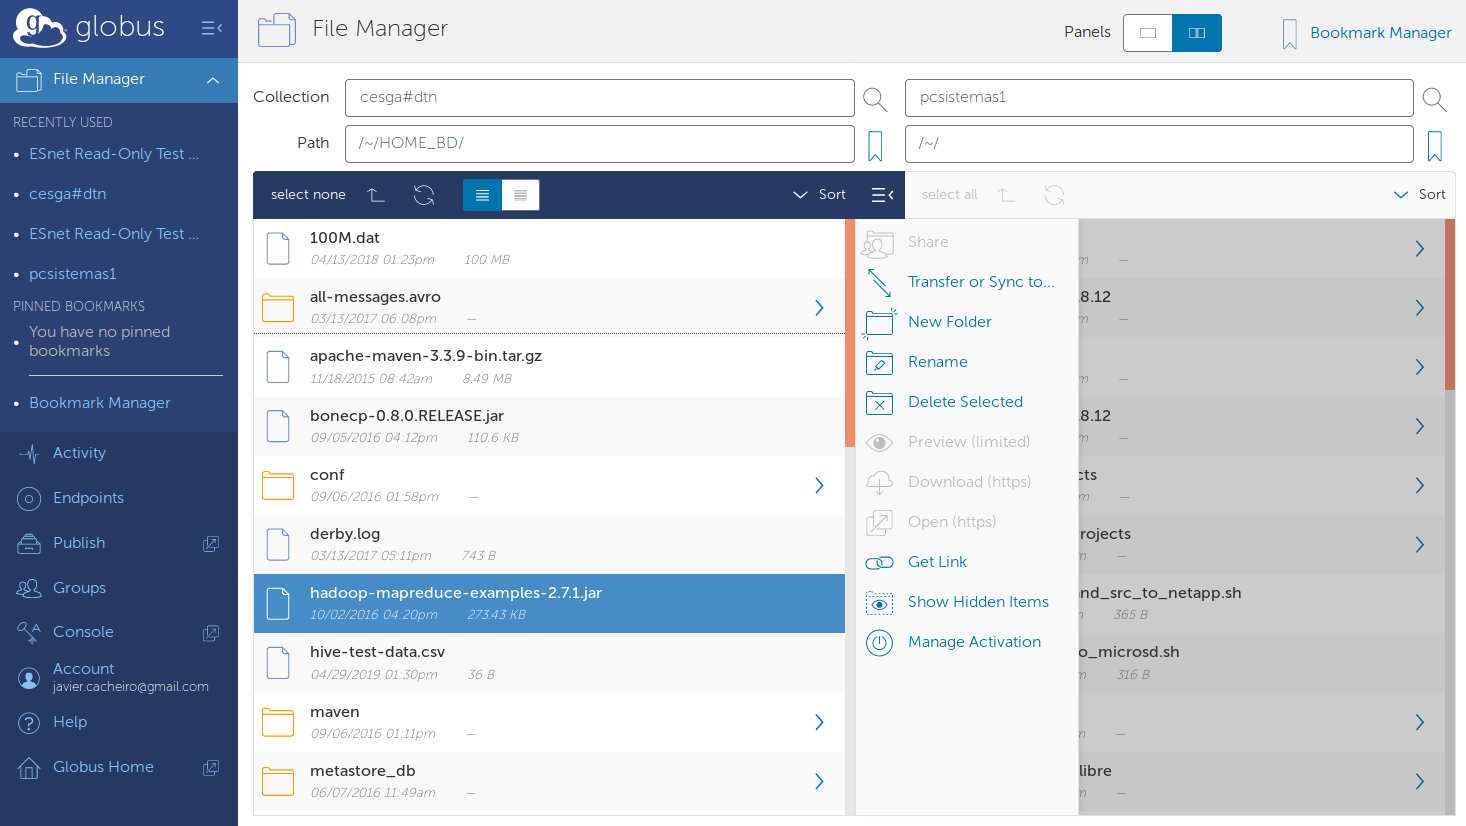
Selecting files to transfer.
Once you press the “Transfer or Sync to…” option you will change automatically to the other endpoint you have selected, in this case the local PC, and you will be given the option to select the destination directory. Once selected just press the Start button.

Select the target directory and start the transfer.
The transfer request will be submitted and it will run in the background.

Transfer requested submitted.
Using the provided link you can monitor its progress, as well as under the Activity option:
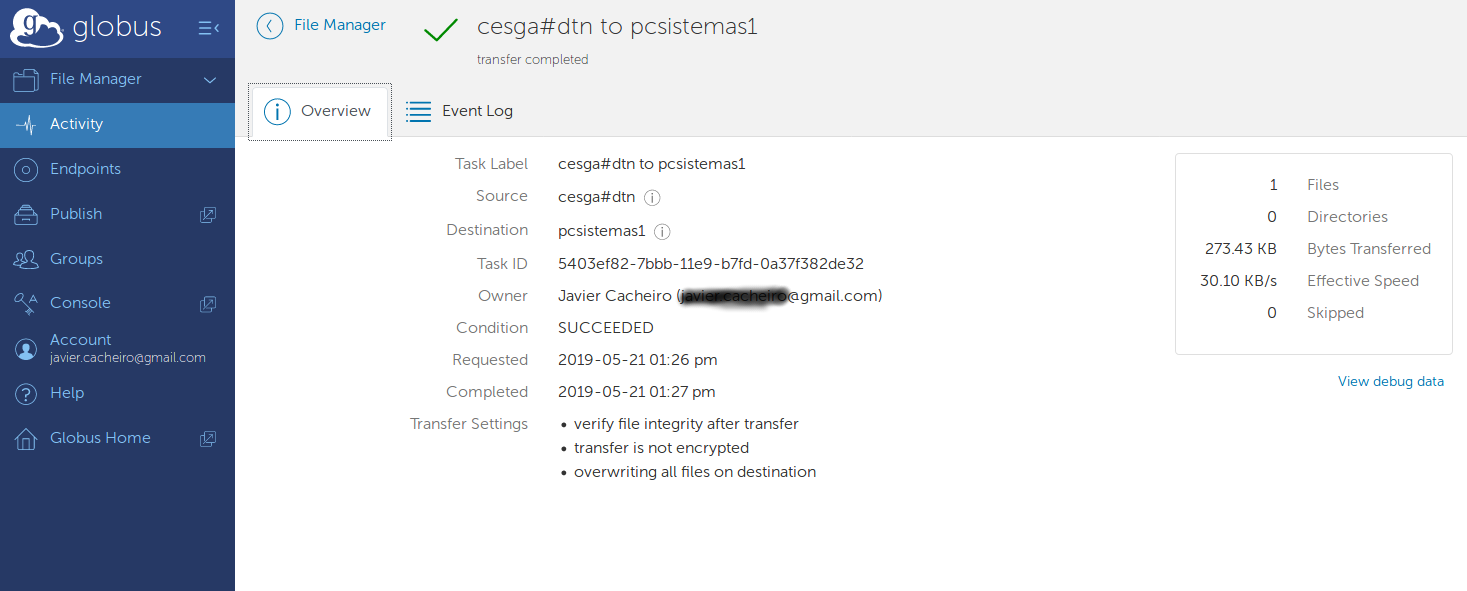
Transfer summary.
You can also adjust the transfer options under the “Transfer & Sync Options” including the option to encrypt the transfer or to transfer only new or changed files:

Transfer options.
Note
You will receive an email when the transfer is finished.
Remote Transfers
You can also transfer files directly between remote sites and CESGA’s DTN without data passing through your computer. You just have to select CESGA’s DTN and the remote endpoint and launch the transfer. The transfer will be monitored by the Globus service and you will receive an email when it is finished.